
In this Remote Desktop tutorial, we’ll learn how to connect to a Windows VPS using the Remote Desktop Protocol (RDP). This feature is built into the Windows operating system to allow easy remote access to other computers.
Let’s go through the steps to connect to a Windows VPS using Remote Desktop Connection.
Connecting to Remote Desktop on Windows
- Open the Start Menu and type Remote Desktop in the search bar.

- Click on the Remote Desktop Connection app from the results to open it.
Note: This application is included by default in all versions of Windows, so there’s no need to install it separately.
- After launching the application, enter your server’s IP address in the Computer field, then click the Connect button to begin the connection process to the Windows server.
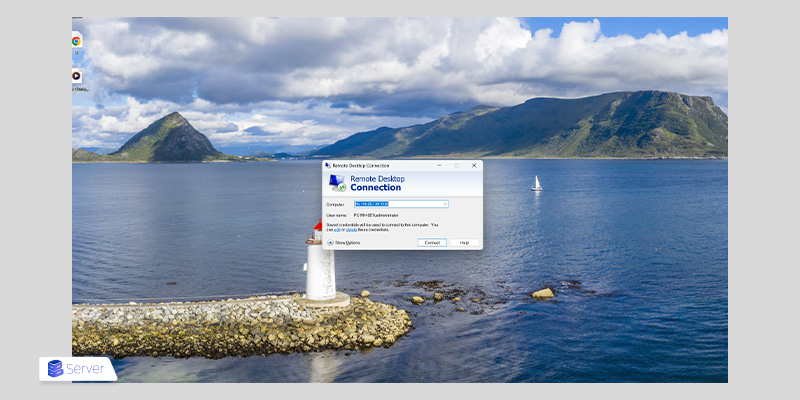
- A window will appear prompting you to enter your username and password. At the bottom of the window, click on More choices, then select Use a different account.
- In the Username field, enter: administrator.
- In the Password field, type the server password that was sent to you via ticket, then click OK.
Tip: Check the Remember me option to avoid entering your password each time you connect.
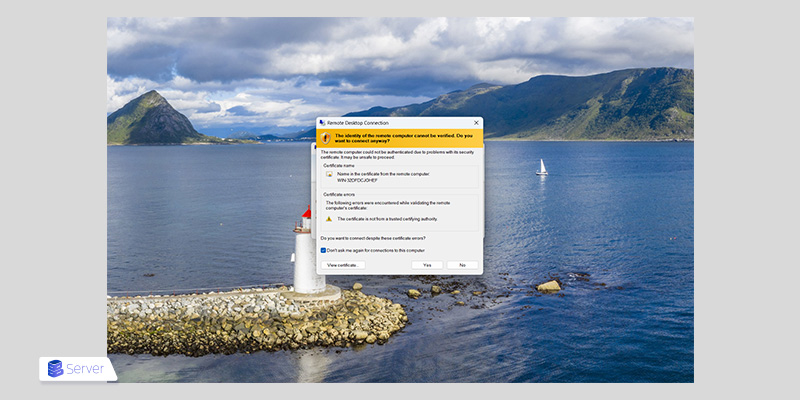
- You may see a yellow warning message prompting you to verify the security certificate.
- Check the Don’t ask me again option to prevent this message from appearing in future connections, then click Yes to proceed with the connection.
By completing the steps above, you will be logged into your server environment with full access for management and usage.
You can now install and run the applications you need, or manage various files on the server.
Connecting to a Windows VPS on Mac
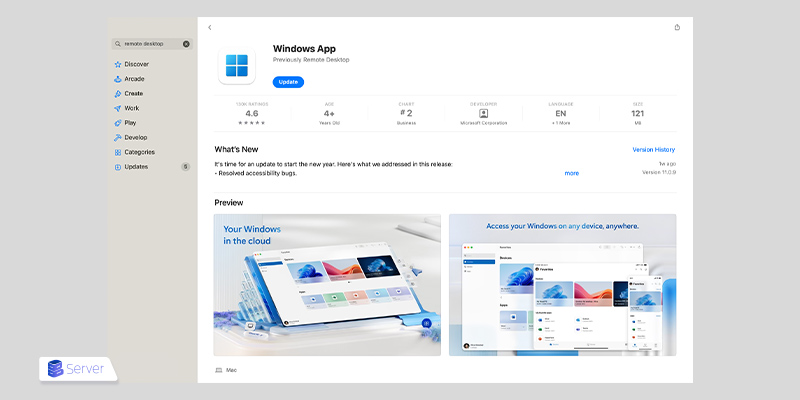
1. First, install the Microsoft Remote Desktop app from the App Store.
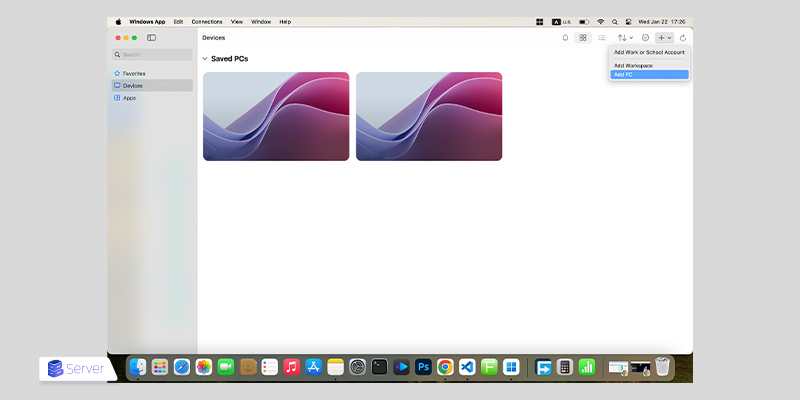
2. After launching the app, click Add PC.
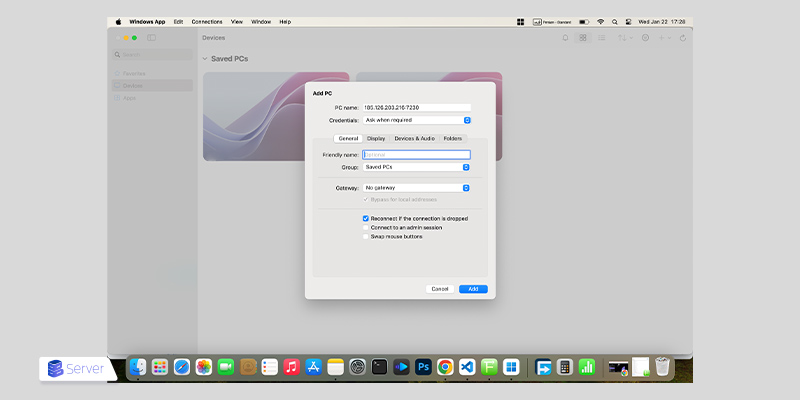
3. At this stage, you’ll need to fill out several fields. Here’s an explanation of each:
PC Name: In this field, enter the IP address of your Windows server (e.g., 192.168.10.30) or the hostname (e.g., server.domain.com).
When you purchase a VPS from Buyserver, you will receive an email containing your server details such as the IP address, hostname, and more. This information is also available via a support ticket in your client area.
Credentials: This section allows you to specify whether you want to be prompted for login information (such as username and password) each time you connect to the VPS. For example, you can choose the option Ask when required.
Friendly Name: Here, you can assign a custom name for your new VPS connection to help you identify it easily.
4. Once all fields are filled, click Add to save the account.
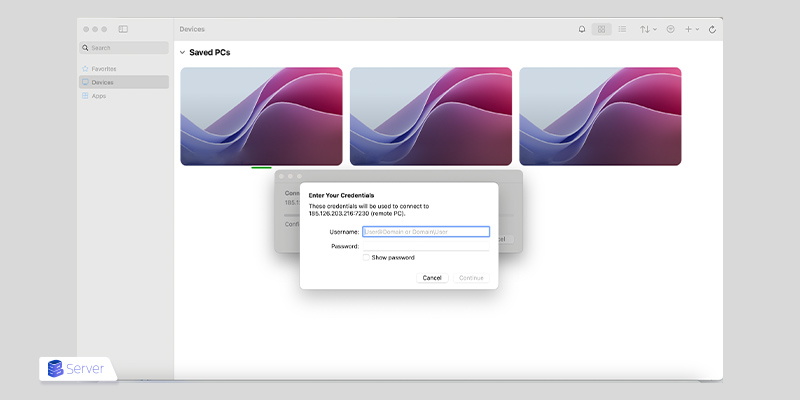
5. Next, you’ll be prompted to enter the username and password for your VPS, which you received from your provider.
6. After entering the credentials, click the Connect button to proceed.
7. After clicking the Connect button, you’ll see a security prompt asking for permission to proceed. In this window, click Connect or Continue to move forward.

8. Finally, if the connection to your VPS is successful, you should see your virtual server interface appear on the screen.
Conclusion
In this Remote Desktop tutorial, we learned how to connect to a Windows VPS using RDP. If you ever need to set up a new connection, simply make sure that Remote Desktop Connection is enabled and that your connection settings are properly configured in the app.